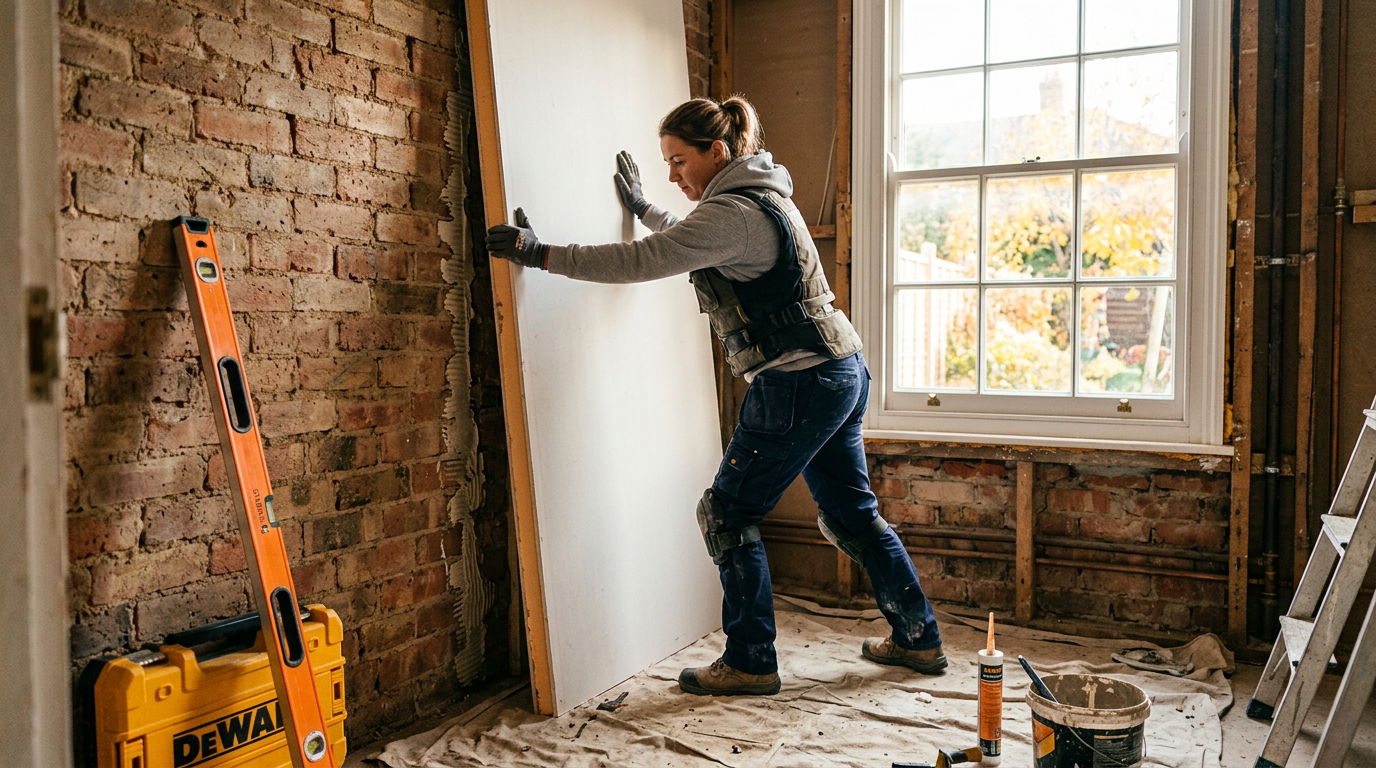
Solid brick and stone walls lose heat fast — often more than twice as much as a modern insulated cavity wall. If external wall insulation isn't an option, insulated plasterboard (also called thermal laminate board) is the quickest way to warm up a room from the inside. It combines a rigid insulation core and a plasterboard face in a single sheet, so you insulate and dry-line in one go.
Below we walk you through everything you need to get it right first time, with links to the boards we stock from Kingspan and Mannok.
What is insulated plasterboard?
Insulated plasterboard is a standard 12.5mm tapered-edge plasterboard bonded to a layer of rigid foam insulation — usually PIR (polyisocyanurate) or phenolic. The insulation side typically carries a foil facing that doubles as an integral vapour control layer, helping stop warm, moist room air from condensing inside the wall.
Boards come in a standard 2400 × 1200mm size (2.88m² per sheet), and the thickness is quoted as insulation + plasterboard — for example 50mm + 12.5mm = 62.5mm total.
Warmer rooms
Cuts heat loss through cold external walls and reduces cold spots.
Two jobs in one
Insulate and dry-line in a single fix — no separate stud and board stage.
Built-in VCL
Foil facings act as a vapour control layer to help prevent condensation.
Kingspan K118 vs Mannok: which board?
We stock two of the most popular insulated plasterboards in the UK. Both do the same job — the difference is how much space you're willing to give up versus how much you want to spend.
| Kingspan Kooltherm K118 | Mannok Insulated Plasterboard | |
|---|---|---|
| Insulation core | Phenolic (fibre-free) | PIR |
| Thermal performance | Premium — thinnest board for a given U-value | High — slightly thicker for the same result |
| Insulation thicknesses | 25, 30, 40, 45, 50 & 60mm (+12.5mm board) | 25, 38 & 50mm (+12.5mm board) |
| How it's sold | Full packs (11–21 boards) | Single boards |
| Best for | Small rooms, whole-house jobs, where every mm counts | Single rooms, DIY projects and tighter budgets |
Kingspan Kooltherm K118
K118 is the premium choice. Its phenolic core is one of the most thermally efficient insulants available, so you hit your target U-value with a thinner board — meaning less floor space lost and fewer issues around window reveals and door frames. It's suitable for both mechanically fixed and dot-and-dab installations. Browse the full Kingspan K118 range, or the wider Kingspan collection for cavity, roof and floor boards.

Kingspan Kooltherm K118 Insulated Plasterboard 1200mm x 2400mm 62.5mm - 50mm+12.5mm (Pack of 12 boards)
£1,273.71
Kingspan Kooltherm K118 Insulated Plasterboard 1200mm x 2400mm 37.5mm - 25mm+12.5mm (Pack of 21 boards)
£1,771.56
Kingspan Kooltherm K118 Insulated Plasterboard 1200mm x 2400mm 72.5mm - 60mm+12.5mm (Pack of 11 boards)
£1,226.83
Kingspan Kooltherm K118 Insulated Plasterboard 1200mm x 2400mm 52.5mm - 40mm+12.5mm (Pack of 15 boards)
£1,395.42
Mannok insulated plasterboard
Mannok's PIR-backed boards are a reliable, budget-friendly alternative. They're sold individually, which makes them ideal for a single room, a chimney breast or a small extension where you don't need a full pack. See the full Mannok collection for their PIR boards too.

Mannok 2400mm x 1200mm x 25mm + 12.5mm Insulated Plasterboard
£50.73
Mannok 2400mm x 1200mm x 38mm + 12.5mm Insulated Plasterboard
£61.72
Mannok 2400mm x 1200mm x 50mm + 12.5mm Insulated Plasterboard
£69.02
Choosing the right thickness
Thicker boards insulate better, but every extra millimetre comes off your room. As a rule of thumb:
- 25–30mm + 12.5mm — window reveals, tight alcoves and walls where space is at a premium.
- 38–45mm + 12.5mm — a good balance of performance and space for most bedrooms and living rooms.
- 50–60mm + 12.5mm — the best results on cold solid walls, and the usual choice when working towards Building Regulations targets.
Building Regulations
If you're insulating more than 25% of an external wall's area (or the whole element), it's classed as a renovation under Part L and usually needs to reach a U-value of around 0.30 W/m²K. The board thickness required depends on your wall build-up — check the manufacturer's datasheet or ask your Building Control officer before ordering.
Tools & materials
Materials
- • Insulated plasterboard (K118 or Mannok)
- • Dry-lining / dab adhesive
- • Mechanical fixings (nailable plugs or drywall screws)
- • Treated timber battens (for mechanical fixing)
- • Low-expansion foam or acrylic sealant
- • Jointing tape, filler or skim plaster
Tools
- • Tape measure, pencil and chalk line
- • 1.8m straight edge and spirit level
- • Sharp knife and fine-toothed panel saw
- • Bucket, mixing paddle and trowel
- • Drill/driver with masonry bits
- • Board lifter, gloves, mask and goggles
How many boards do I need?
Measure the wall area (width × height) in m², subtract large openings, then divide by 2.88 (one 2400 × 1200mm board). Add 10% for cuts and waste. Example: a 4m × 2.4m wall = 9.6m² ÷ 2.88 = 3.3, plus 10% = 4 boards.
Step-by-step: installing insulated plasterboard
There are two ways to fix the boards: dot-and-dab (adhesive bonded to masonry) or mechanically fixed to timber battens. Dot-and-dab is faster on sound, reasonably flat walls; battens are better for uneven walls or where you need a service void for cables.
-
1
Prepare the wall
Fix any damp, leaks or failed pointing first — insulation won't cure a damp wall and may trap moisture. Remove skirting, coving, sockets and loose plaster. The wall should be sound, clean and dry. Turn off electrics and plan socket extensions now.
-
2
Set out and measure
Use a straight edge to find the wall's high spots, then snap chalk lines on the floor and ceiling to mark the finished face. Plan your layout so board joints don't line up with the edges of windows and doors — this reduces cracking.
-
3
Cut the boards
Measure floor-to-ceiling height at several points and cut boards about 10–15mm short. Score the plasterboard face with a sharp knife, then cut through the insulation with a fine-toothed saw. Cut-outs for sockets and switches are easiest with a padsaw.
-
4
Fix the boards
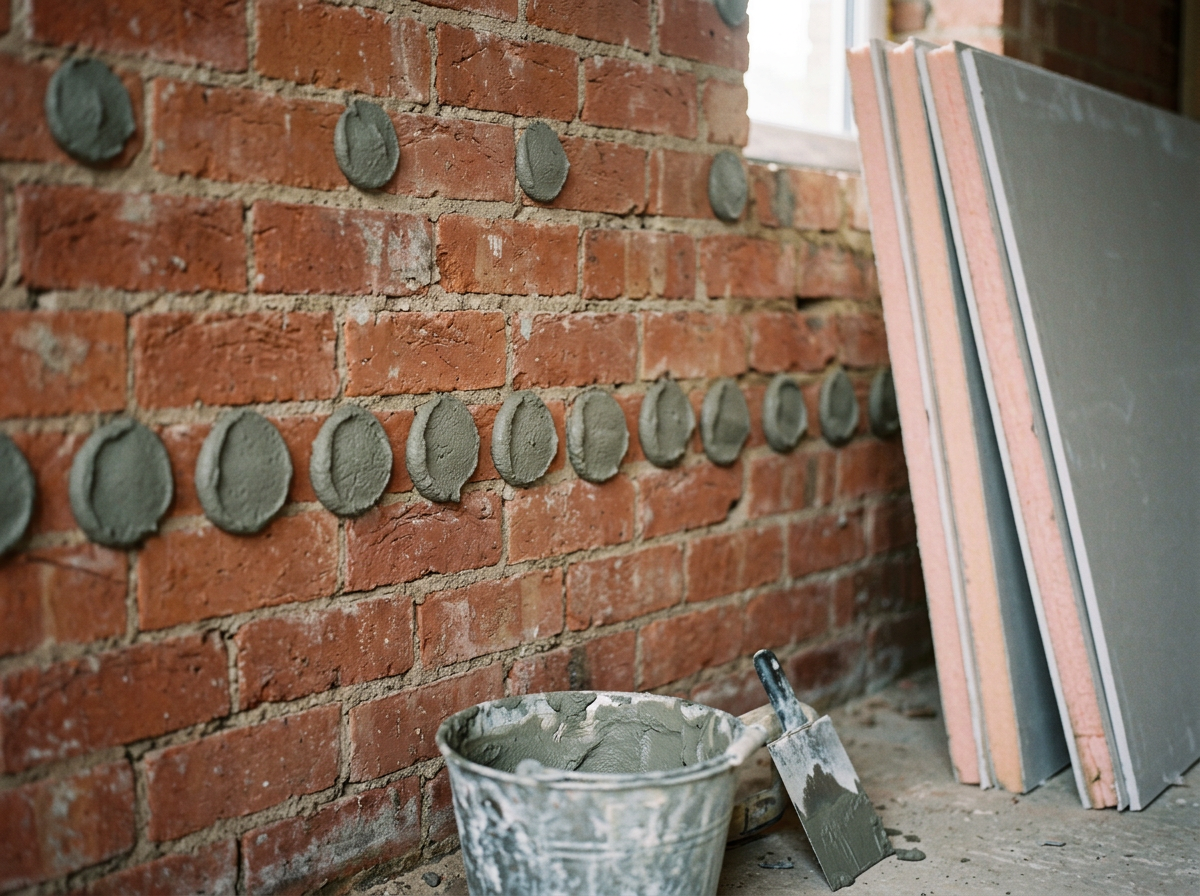
Dot-and-dab: apply a continuous band of adhesive around the perimeter of the wall and openings, then dabs roughly 50–75mm wide and 250mm long in vertical rows. Press the board into place, tap it level with the straight edge, and lift it tight to the ceiling with a board lifter.
Mechanically fixed: fix treated battens at 600mm centres (plus at all edges and around openings), then screw boards through to the battens with drywall screws at around 150mm centres, 10mm in from the edges.
Even with dot-and-dab, add at least two secondary mechanical fixings per board — this holds the board in place in the event of a fire. Always follow the manufacturer's fixing guidance.
-
5
Seal joints and edges
Butt boards tightly together. Fill gaps at the floor, ceiling and around openings with low-expansion foam or sealant to keep the vapour control layer continuous and stop draughts. Seal around every service penetration, such as sockets and pipes.
-
6
Insulate the reveals
Window and door reveals are a classic cold bridge. Line them with a thinner board (25mm + 12.5mm works well) so condensation and mould don't form around the frame.
-
7
Tape, joint and finish
Leave the adhesive to set (usually 24 hours). Then either tape and joint the tapered edges for a decorate-ready finish, or apply a thin skim coat across the whole wall. Refit skirting and sockets on extended back boxes, and you're done.
Common mistakes to avoid
- Insulating over damp. Always cure the cause first — rising damp, penetrating damp or leaking gutters.
- Skipping the reveals. Uninsulated window reveals become the coldest point in the room and attract condensation.
- Leaving gaps. Unsealed edges let moist air behind the board and undo the vapour control layer.
- No mechanical fixings. Adhesive alone isn't enough — add secondary fixings to every board.
- Forgetting services. Plan cable routes, socket back boxes and radiator brackets before boarding, not after.
Frequently asked questions
Can I put insulated plasterboard straight onto brick?
Yes — on sound, dry brick or block you can bond it directly using dot-and-dab adhesive, plus secondary mechanical fixings. On very uneven or crumbling walls, fix it to timber battens instead.
Do I need a separate vapour barrier?
Both Kingspan K118 and Mannok insulated plasterboards have foil facings that act as an integral vapour control layer, so a separate membrane usually isn't needed — as long as all joints, edges and penetrations are properly sealed.
Is Kingspan K118 worth the extra cost?
If space is tight, usually yes. K118's phenolic core gives the same thermal result with a thinner board than PIR, so you keep more of your room. For a single room where a few extra millimetres don't matter, Mannok is excellent value.
Can I hang shelves or a TV on insulated plasterboard?
Light items are fine with cavity fixings. For heavy items like TVs, kitchen units or radiators, use long fixings that go through the board into the masonry behind, or fit timber pattresses before boarding.
Do I need to skim insulated plasterboard?
Not necessarily. The tapered edges are designed for taping and jointing, giving a smooth, paintable finish. A thin skim coat gives a harder, more uniform surface if you prefer.
