The short answer
- Solid floors: 100mm is the usual minimum. Go 120–150mm where the floor depth allows.
- Pitched roofs / lofts: 100mm between the rafters plus 25–50mm underneath.
- Internal walls (dry-lining): 50–75mm on a solid wall, depending on how much room you can lose.
- Flat roofs (warm deck): 120–150mm in total, often as two layers.
Why PIR, and why thickness matters
PIR (polyisocyanurate) is a rigid foam board with foil facings on both sides. It's one of the most efficient insulation materials you can buy. A typical thermal conductivity (λ) is around 0.022 W/mK, so you get the same performance from a thinner board than with mineral wool or polystyrene. That's why PIR is the go-to wherever space is tight: under screed, behind plasterboard and between rafters.
Thickness is what turns that λ value into real performance. The thicker the board, the higher its thermal resistance (R-value) and the lower the U-value of the floor, wall or roof you're building. Building Regulations set U-value targets for each element, so your job is to pick the thinnest board that gets you there.
| Board thickness | Approx. R-value (m²K/W) | Typical use |
|---|---|---|
| 25mm | 1.14 | Under-rafter top-up, window reveals |
| 50mm | 2.27 | Dry-lining, cavity walls, under-rafter |
| 75mm | 3.41 | Internal wall upgrades, timber frame |
| 100mm | 4.55 | Floors, between rafters |
| 150mm | 6.82 | Flat roofs, high-spec floors |
R-value = thickness (m) ÷ λ. Values are indicative. Always check the manufacturer's datasheet for the exact board.
Floors: 100mm and up
Ground floors lose a surprising amount of heat. For a new or replacement solid floor, 100mm PIR insulation boards laid over the damp-proof membrane and under the screed is the standard starting point. If you're adding underfloor heating, or your floor depth allows it, stepping up to 120–150mm noticeably cuts heat loss into the ground.
- Run a 25mm perimeter upstand around the edge of the slab to stop cold bridging at the walls.
- Stagger the board joints and tape them before laying the separating layer and screed.
- On suspended timber floors, fit PIR between the joists on battens or clips, cut tight to avoid gaps.
Lofts and pitched roofs: the two-layer approach
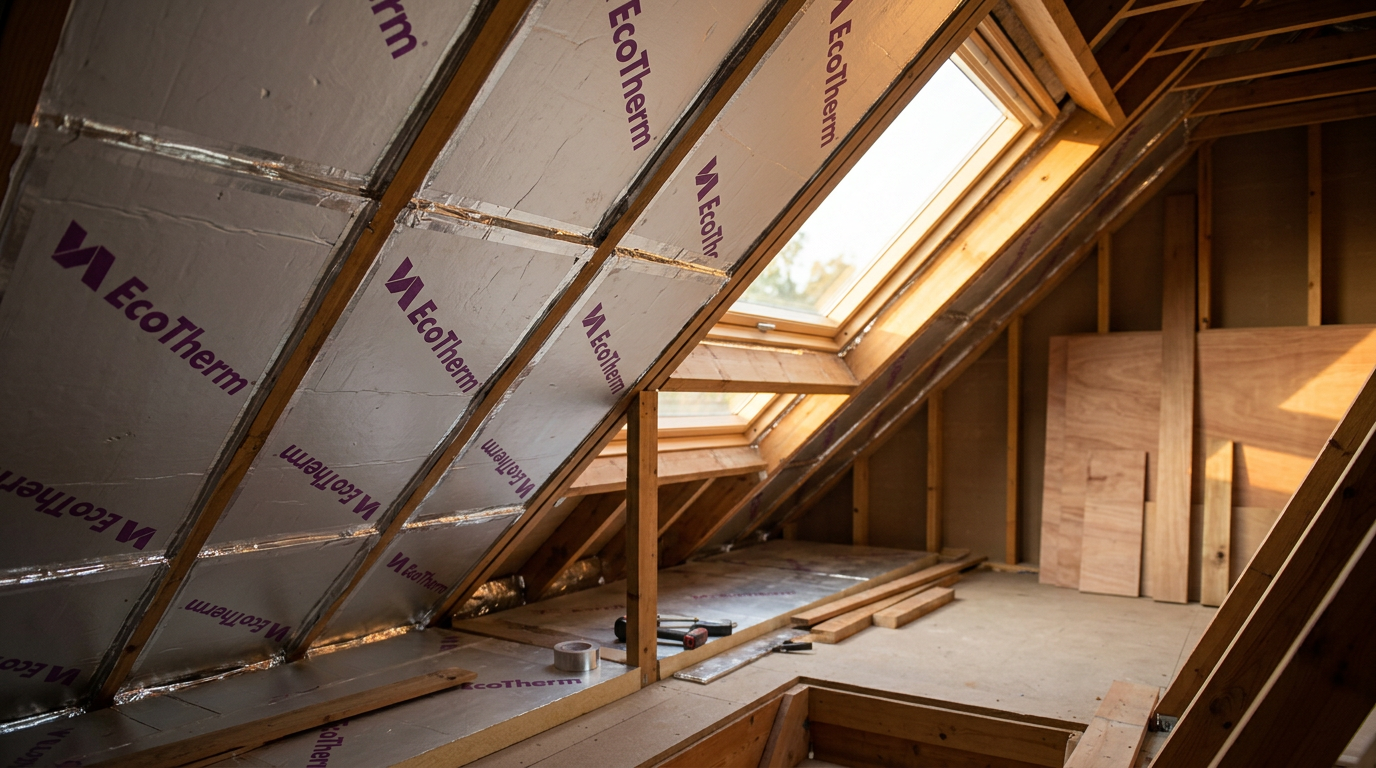
For a warm roof or loft conversion, the most common build-up is 100mm PIR between the rafters (keeping a ventilation gap above if the roof needs one), then a 25–50mm layer fixed underneath before plasterboard. That second layer runs across the rafters, so it covers the timber and gets rid of the cold bridges that a single layer between rafters leaves behind.
Walls: balancing warmth against room size
Internal dry-lining on solid walls
Every millimetre you add comes off the room, so dry-lining is a trade-off. 50mm PIR boards fixed to battens or bonded with adhesive is a big improvement on bare solid brick. 75mm gets you closer to modern targets if you can spare the space. Insulated plasterboard is an alternative when you want one-step fitting, with PIR and plasterboard bonded into a single sheet.
Cavity walls in new builds
Partial-fill cavity boards are usually 50–100mm depending on cavity width. Always leave the residual air gap the manufacturer specifies, typically at least 25mm.
Flat roofs: go thicker
Flat roofs are exposed on top and lose heat fast, so they need the most insulation. A warm-deck build-up of 120–150mm is typical, often as two staggered layers (for example 100mm + 50mm) so the joints don't line up. Lay them over a vapour control layer on the deck and under the waterproofing.
PIR boards used in this guide
Full 2400 × 1200mm sheets, 25mm–150mm


Five mistakes that cost you performance
- Leaving gaps. A 5mm gap around a board can wipe out a big share of its benefit. Cut tight, and fill unavoidable gaps with low-expansion PU foam.
- Skipping the tape. Foil-faced PIR only works as a vapour control layer when every joint is sealed with aluminium foil tape.
- Ignoring cold bridges. Timber studs and rafters conduct heat. A continuous layer across them makes a real difference.
- Blocking ventilation. In cold roofs, keep the air gap above the insulation clear to prevent condensation.
- Buying by thickness alone. Compare λ values. A better-performing board can let you go thinner and save space.

Don't forget the tape
75mm Foil Tape (45m length)Seals PIR joints into a continuous vapour barrier. One roll covers roughly 20 board joints.
A note on Building Regulations
U-value targets differ between new builds, extensions and renovations, and between England, Wales, Scotland and Northern Ireland. The thicknesses in this guide are typical rules of thumb, not a substitute for a U-value calculation. If your project needs Building Control sign-off, get the build-up confirmed with them or your designer before you order.
Frequently asked questions
Can I use two thinner boards instead of one thick one?
Yes. Two layers with staggered joints (e.g. 50mm + 50mm) often perform better in practice than a single 100mm board, because no joint runs straight through the build-up.
Is there a difference between Quinn Therm, EcoTherm and Mannok?
All three are foil-faced PIR boards with similar thermal performance and suit floors, walls and roofs. Pick on availability and price for your thickness. Check each product page for its exact λ value.
How do I cut PIR insulation?
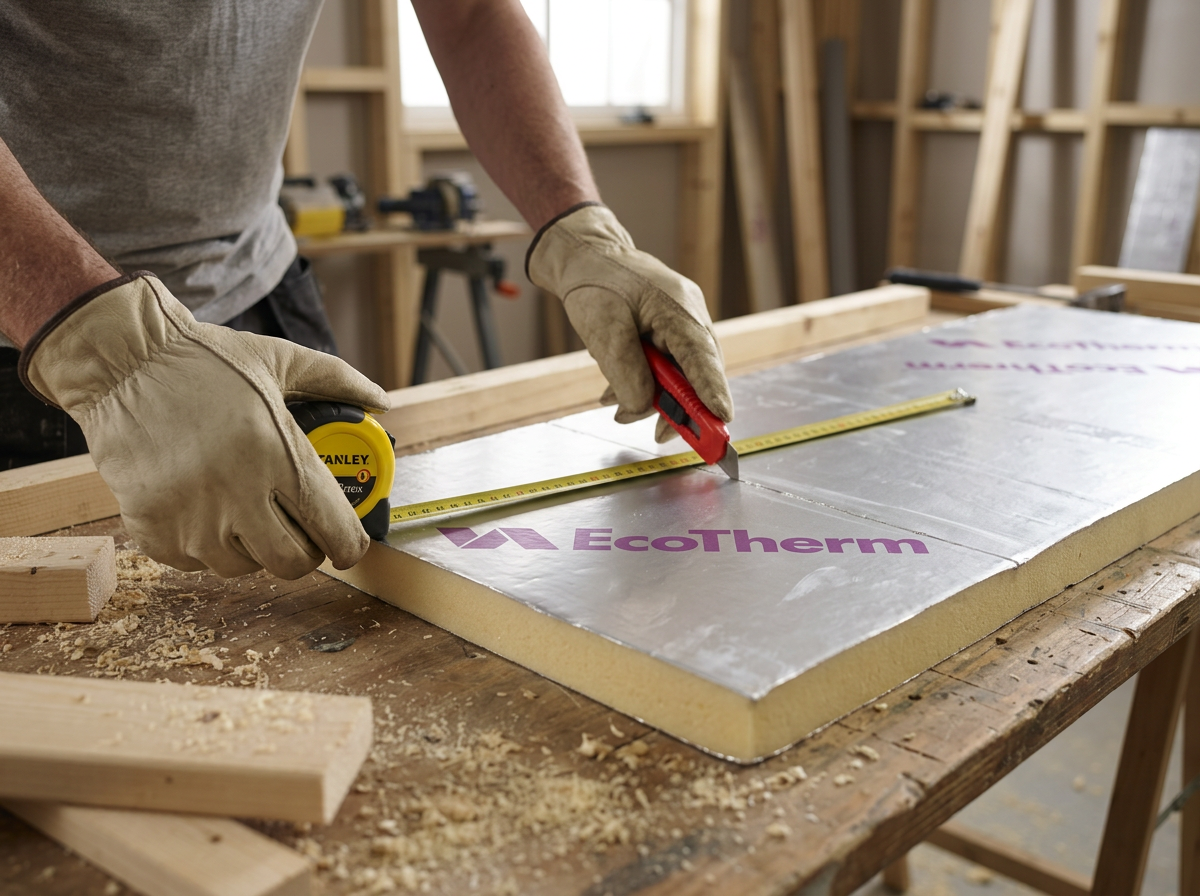
Score both foil faces with a sharp utility knife along a straight edge, then snap. For thicker boards, a fine-toothed handsaw or insulation saw gives a cleaner edge. Wear a mask and gloves.
How many boards do I need?
Each 2400 × 1200mm sheet covers 2.88m². Divide your area by 2.88 and add around 10% for cuts and waste, then round up.
